Direct instruction: the I do, we do, you do method, with printable worksheets
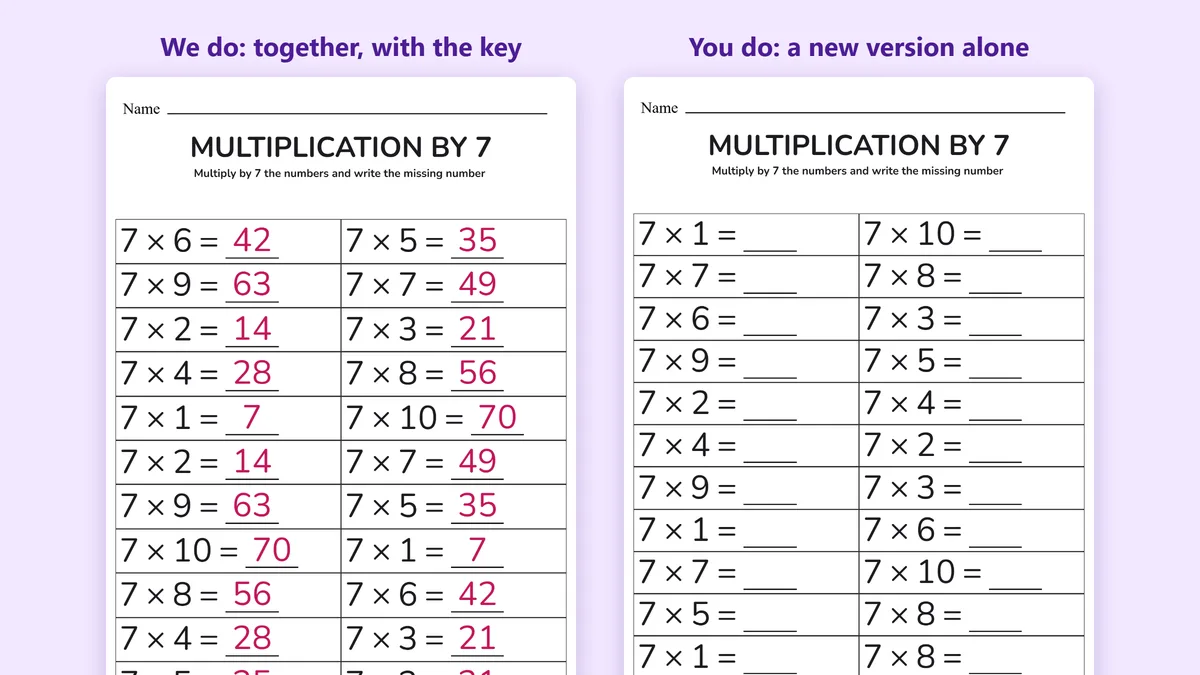
Direct instruction is the simplest way to teach a new skill: the adult shows exactly how it's done, the child tries it with help, and then practises alone until it's easy. It sounds obvious, yet it is one of the best-tested teaching methods there is. Here is how it works, and how to run a lesson with a printable worksheet in about fifteen minutes.
What is direct instruction?
The name is used in two ways. With small letters, direct instruction (also called explicit instruction) means any teaching where the adult explains and models a skill clearly, step by step, instead of leaving the child to discover it. With capital letters, Direct Instruction is a specific programme developed by Siegfried Engelmann and Wesley Becker in the 1960s, with carefully scripted lessons. In Project Follow Through, a large American study of teaching models that ran from the late 1960s into the 1970s, Direct Instruction gave some of the strongest results in basic skills such as reading and arithmetic.
You don't need a script to use the idea at home or in class. The core is a lesson in clear, small steps, often summed up as I do, we do, you do.
A direct instruction lesson in 6 steps
- Review. Start with two or three quick questions on what the child already knows and will need today.
- Say the goal. One sentence is enough: “Today you'll learn to multiply by 7.”
- I do: model it. Solve one or two examples aloud, saying every step as you think it. Keep the steps small.
- We do: guided practice. Solve the next few together. The child does more of the work each time, and you correct mistakes straight away, before they become a habit.
- You do: independent practice. The child works alone. Aim for a level where most answers come out right; if many are wrong, go back to “we do”.
- Check and review later. Check the work together, then come back to the skill in a few days and again in a few weeks, so it stays.
Why it works
- Small steps. A child can only hold a few new things in mind at once. Breaking a skill into small steps keeps the load manageable.
- Worked examples first. Seeing a problem solved before trying one alone is quicker and less frustrating than guessing.
- Fast feedback. A mistake caught in the “we do” stage is fixed in seconds. The same mistake repeated on a whole page takes much longer to unlearn.
- Success builds confidence. Practice where most answers are right keeps children motivated to go on.
How Sowa worksheets fit each step
Every worksheet on Sowa is free to print, and the dynamic ones are made for this kind of lesson:
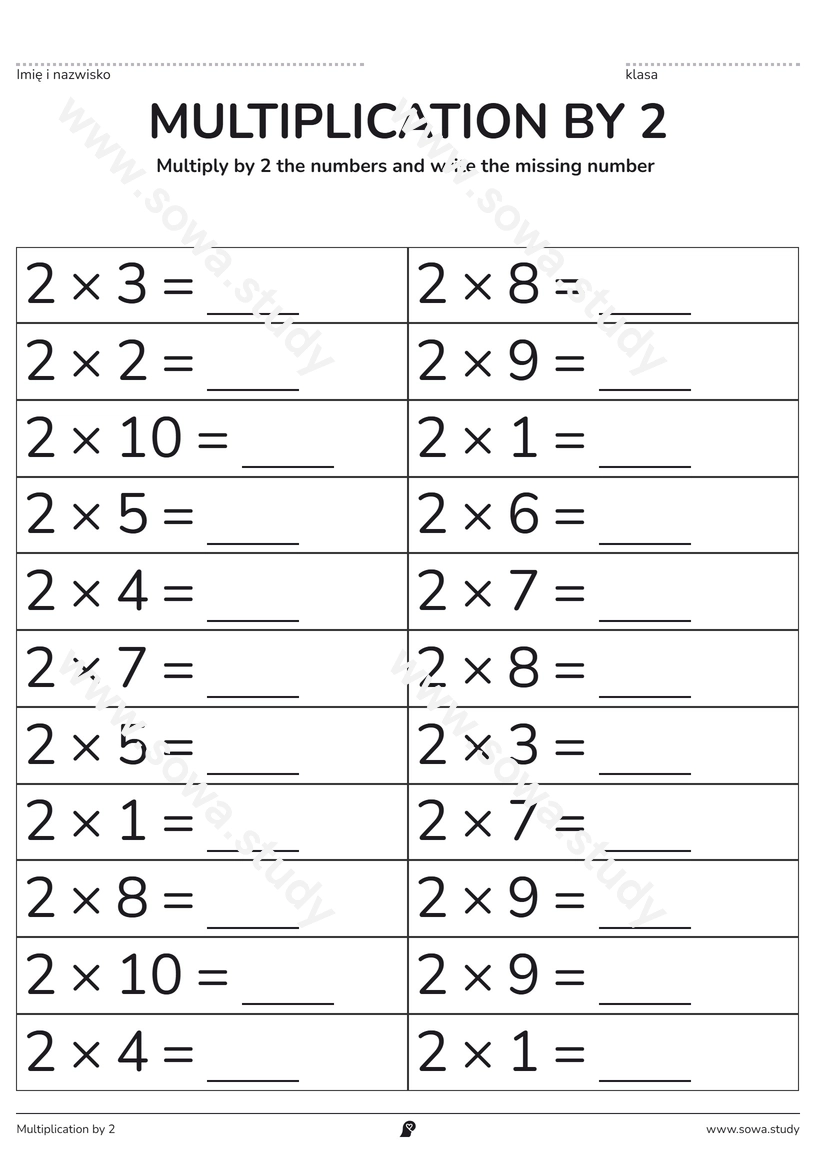
- Two versions of the same sheet. Click Generate new and you get the same skill and difficulty with different problems. Use one version for “we do” and a fresh one for “you do”, so the child can't simply copy the answers you just did together.
- An answer key for every version. The Show answer key switch works out the answers for exactly the version on screen. Keep it next to you during guided practice, and check the independent sheet in seconds.
- Small steps in order. Learning paths put worksheets in a sequence where each step builds on the last, one sheet a day, which also gives you the regular review from step 6.
- Review weeks later. Printed worksheets lists what you've printed, and Print again opens the same version, or generate a new one for a fair check of what has stuck.
- A whole class. Print a class set prints numbered versions of one sheet for independent practice, and teachers with a class on Sowa can use Print for a class to give each student their own copy with their name on it.
An example: multiplying by 7
Open Multiplication by 7 from the multiplication worksheets and print two versions.
- Review (1 minute): ask 7 × 2, 5 × 7 and 7 × 10. These are facts most children already know.
- I do (2 minutes): “I don't know 7 × 6 yet, but I know 7 × 5 is 35. One more 7 is 42.” Do one more like it aloud.
- We do (5 minutes): do the first rows of the first sheet together. Let the child say the steps; check each answer against the key as you go.
- You do (5 minutes): the second version, alone. Check it with the answer key, and note which facts were wrong.
- Review: start the next lesson with those facts. The Times tables daily challenge keeps the review going one sheet a day.
The same pattern works for addition with regrouping, telling the time, letter formation and spelling rules.
When to use something else
Direct instruction is at its best for skills with a clear right way of doing them: number facts, written methods, handwriting, phonics. For open questions, such as designing an experiment or discussing a story, children also need room to explore and talk. Many teachers mix the two: explicit teaching for the basics, then freer tasks that use them.
Tips for parents
- Keep each part short. Ten to fifteen minutes in total is plenty for young children.
- Think aloud while you model. The steps in your head are exactly what the child needs to hear.
- Don't skip “we do”. Going straight from your example to a full page alone is where most frustration comes from.
- Praise the method, not only the answer: “You used 7 × 5 to find 7 × 6, great.”